How to Get Started with Notability
New to Notability? Use this guide to get started on thoughtful note-taking, studying, and creating.

Whether you’re a professional juggling meetings and ideas, a student tackling a heavy semester load, or a creative mapping out your next project, Notability offers a flexible, powerful canvas to capture and refine your thoughts. There are endless ways to utilize the app to become more productive and creative. Once you understand the core navigation and features, Notability quickly becomes a go-to digital workspace.
This guide will walk you through how to navigate Notability on any iOS device and utilize it to be your go-to companion to take notes, learn content, and capture big ideas. For a complete guide on how to navigate Notability on any laptop or desktop, view our guide here.
The Library, aka Your Command Center
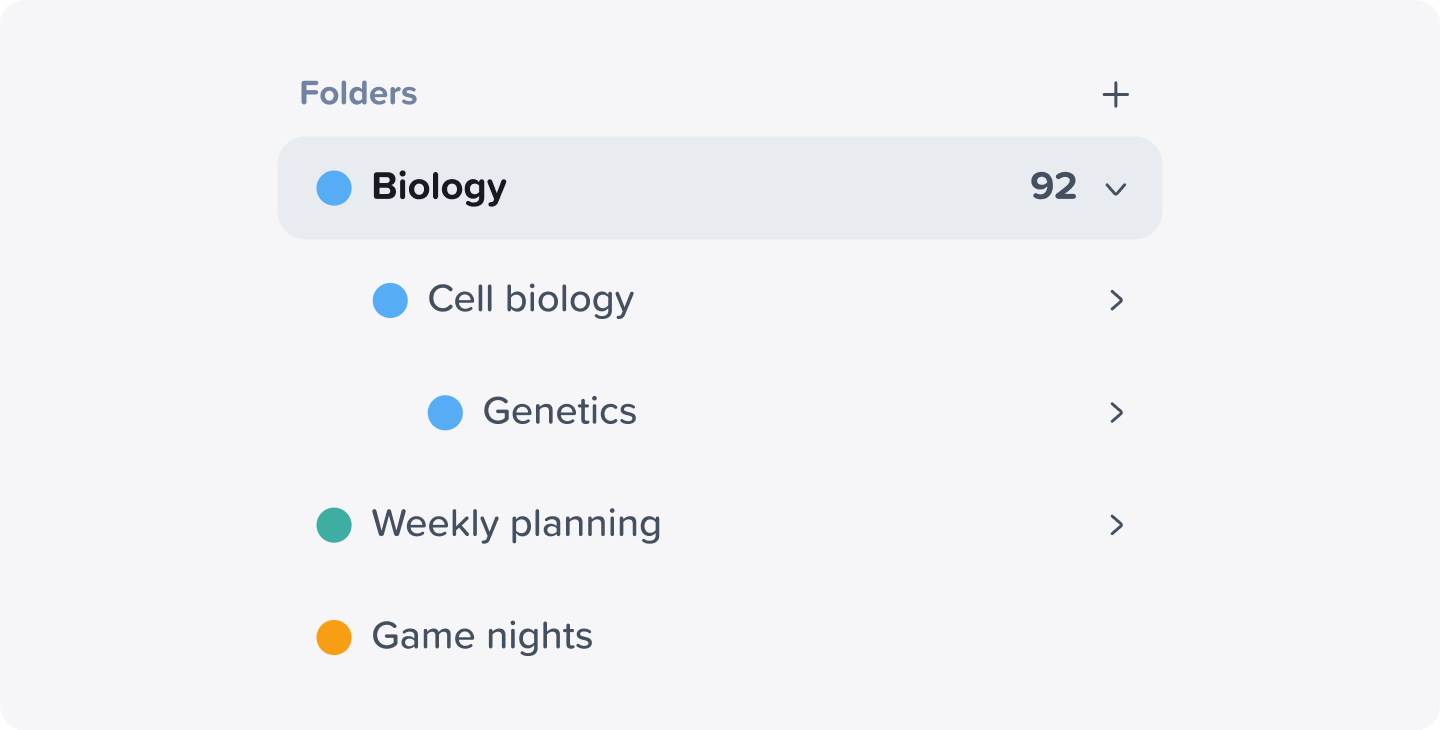
When you first open Notability, you’re greeted by the library, the hub where all your notes and folders live. From here you can:
- Create and organize new notes
- Search for existing content
- Group related notes using folders
- Access templates and settings
Think of the library as your digital filing cabinet with clear organization that makes everything easier. You can create a folder for each project, class, or theme to stay organized from day one. We recommend spending time tagging or grouping your notes when you create them as well, as sorting later is harder to do than doing it upfront.
Creating Notes: Paper, Reimagined
Tap + New to start a fresh note. Inside a note, you’ll find simple yet versatile ways to capture ideas. You can choose a blank, ruled, grid, or dotted paper for the background of your note depending on your style. Once you’ve chosen a background, you’re all set to start taking notes from scratch for a meeting or lecture.
You can also import various file types, such as a DOC, PPT, PDF, or image from your device’s files or storage system. Tap and hold + New and select Import to upload digital forms, field reports, PDFs, or lecture slides from. The file will live in your Notability library for you to annotate on.
Another way to create a note in Notability is to upload physical documents into Notability. Tap and hold + New and select Document Scan to scan any paper, form, or handout from class with your phone or iPad’s camera directly into Notability. Once uploaded, you can annotate the document as needed.
If you’re looking for a template to help you get started with creating a note, you can explore our Gallery to discover the thousands of custom templates we have in the Notability community, including digital planners, Cornell notes, checklists, and more.
Your Productive Toolkit: The Toolbox
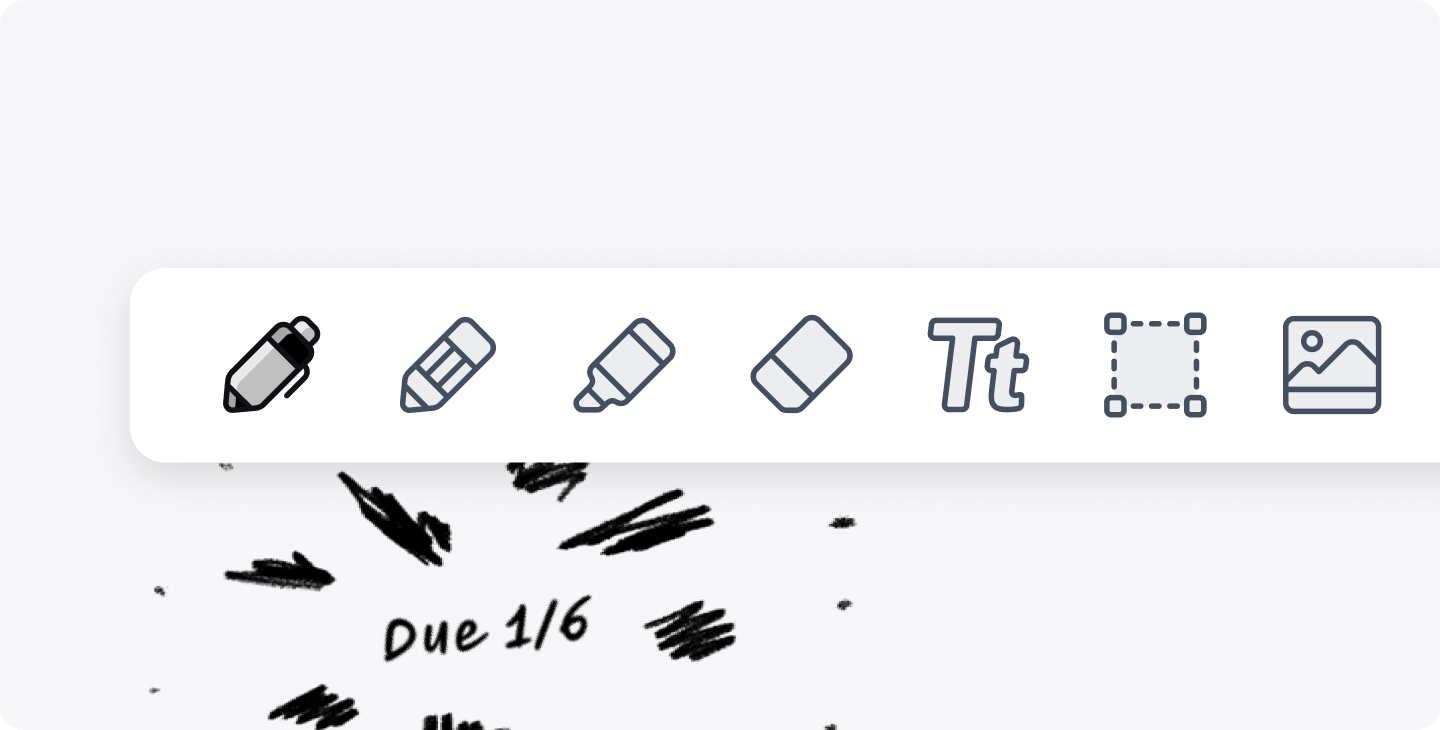
The toolbox is where Notability shines. You can see the customizable floating bar on any note, packed with tools for writing, drawing, and organizing.
Here’s what you’ll find in your toolbox:
- Pen & Pencil: Handwrite or sketch with pressure-sensitive brushes if you use an Apple Pencil.
- Highlighter: Emphasize key ideas by highlighting parts of your note with translucent ink.
- Eraser: Remove parts of a note or entire elements.
- Text Tool: Add movable text boxes anywhere on the page.
- Selection: Edit handwriting, move content, or convert handwriting to typed text.
- Add Media: Add photos, GIFs, sticky notes, and more to your note.
- Audio Recording & Replay: Capture lectures or meetings and play the audio back anytime.
- Zoom: View your note close-up and in detail.
- Tape: Cover up key information and quiz yourself in your note to practice active recall.
- Ruler: Create straight edges or measure precise angles.
- Laser Pointer: Direct your audience’s attention to specific parts of your note.
Take a moment to get to know your toolbox. Once you’ve familiarized yourself with the tools, feel free to customize the toolbox and place your favorite tools where they’re easiest to reach, and use these tools to edit your notes daily.
Edit, Study, and Explore Your Note
Once you’re inside your note, Notability gives you powerful controls. Add photos, GIFs, and even digital sticky notes to make your content more visual and memorable. You can quickly correct mistakes by clicking undo or redo, and enable gesture controls for faster editing. The top right menu also allows you to export your notes, change viewing options, or adjust the template.
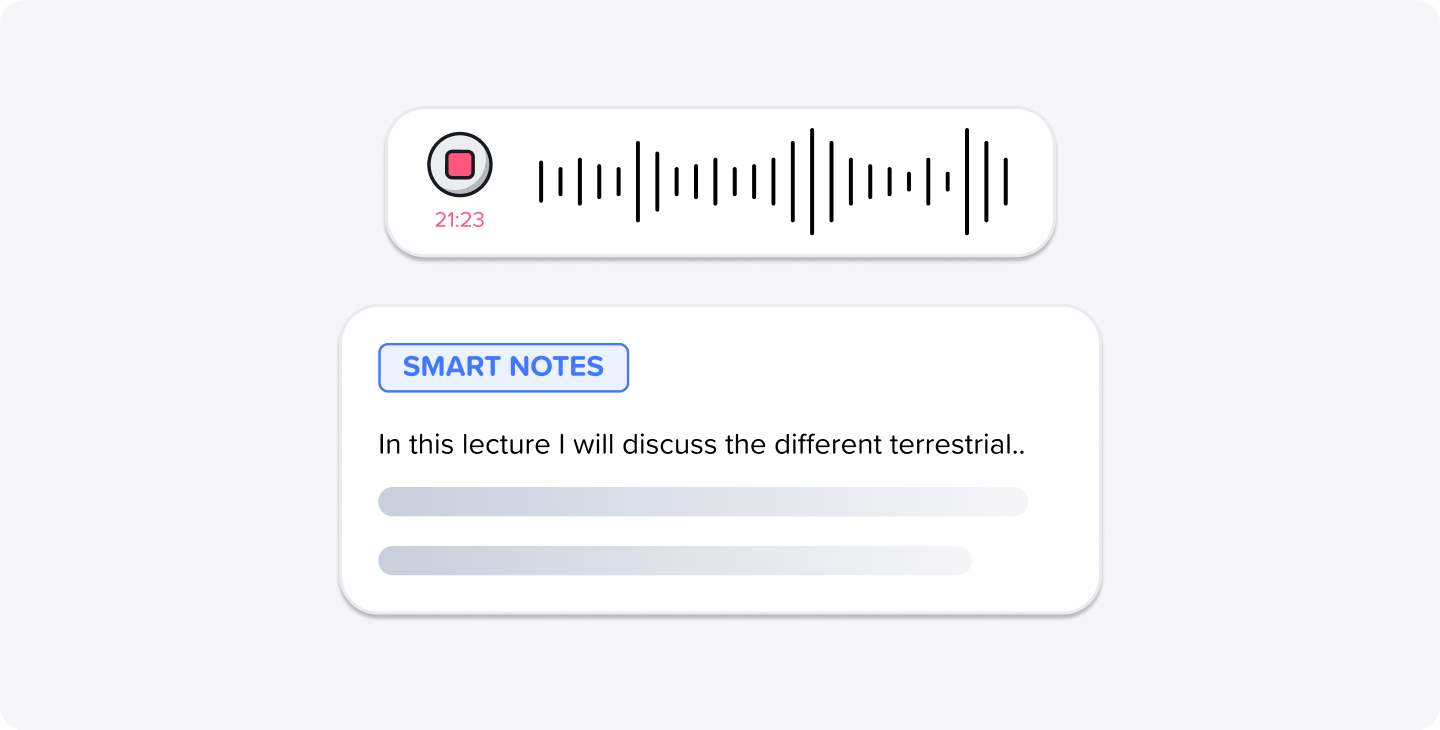
If you’re attending a lecture or meeting, hit the record button to immediately start recording what is being said. After the discussion, tap Play to hear exactly what was said. Any handwritten notes you took during the lecture or meeting will sync with the audio and appear on the note as the audio plays.
Notability Learn, our AI tool, can then turn your notes into dynamic material for review:
- Live Transcripts: Automatically generate text from audio recordings.
- Smart Notes: Summarize key points as you write or record.
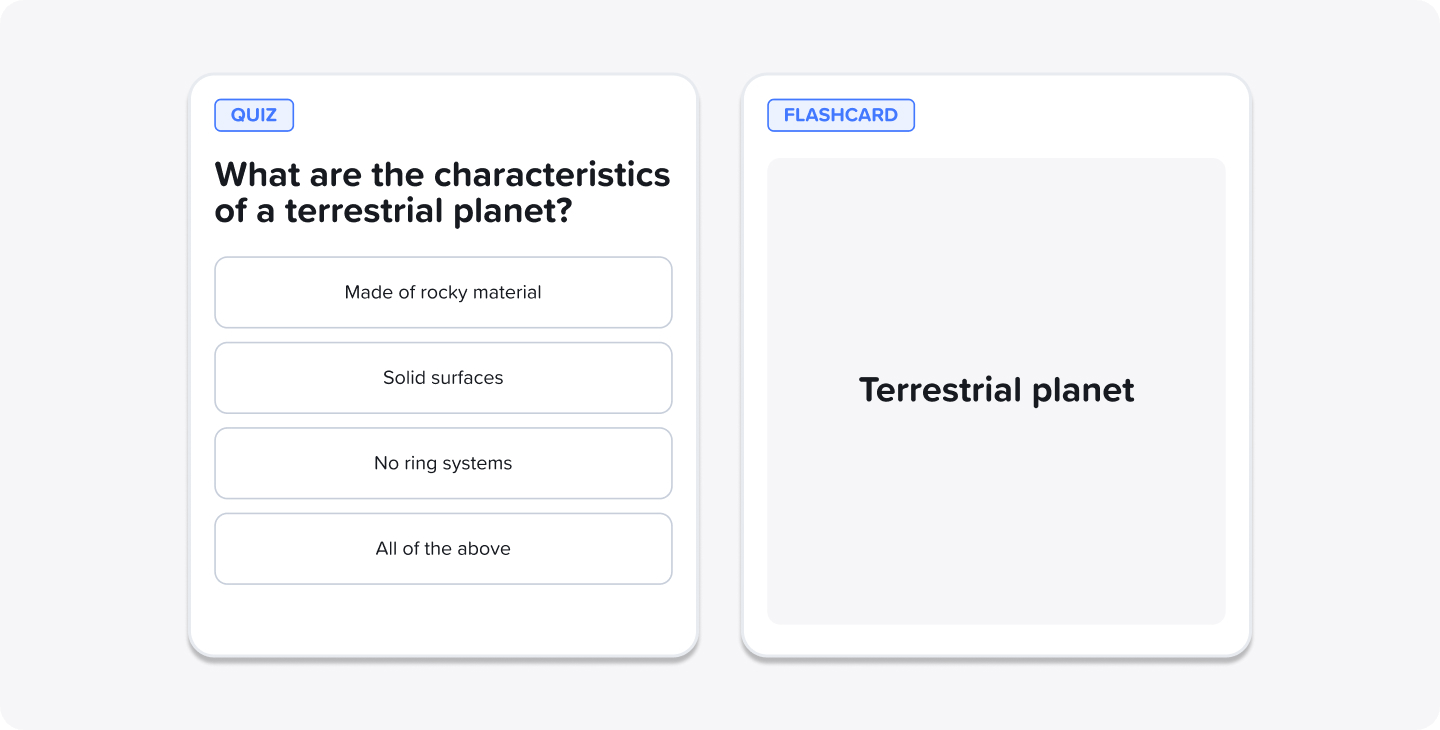
- Quizzes: Test your knowledge of your note’s content with multiple choice, mix and match, and fill-in-the-blank questions. This feature is only available for student users.
- Flashcards: Review key concepts and terms in your notes. This feature is only available for student users.
- Chat with your Notes: Ask questions and get instant answers from your content.
These features transform Notability from just a note-taking app into a comprehensive learning tool. Now, you’ll be able to review for a test or meeting without needing to reread or rewrite your notes. Notability Learn does this heavy lifting for you.
Multi-Note Navigation
Some workflows are more complex. Maybe you’re comparing two lectures or referencing a project brief while taking notes. Notability’s Multi-Note lets you open and view two notes side by side, while the Note Switcher helps you jump between them quickly. You can use split view on an iPad or laptop when studying a textbook and taking notes or viewing two separate forms at the same time.
Sharing Your Notes
One of Notability’s biggest strengths is how easily your notes can move beyond your own screen. Whether you’re turning notes into a polished PDF, collaborating with a coworker in real time, or sending materials to a classmate, sharing in Notability is designed to be fast and flexible.
When you’re ready to present or submit a note, tap the circle icon with the three dots in the top right corner of your note. Select Quick export to instantly turn your note into a PDF; Export options to turn your note into a PNG, Note, JPEG, or PDF file; or Create link to share a link to collaborators.
Exported PDFs preserve your handwriting, annotations, images, and formatting. This is ideal for when you need to share finalized meeting notes with colleagues, save a final draft of your creative work, or submit assignments and reports.
Sharing your note as a link allows you to invite others to view or edit a note in real time. Anyone with access to the link can open the note and see updates as they happen. This is especially useful for shared meeting agendas, brainstorming documents, creative collaboration, group projects, and study sessions.
Final Recommendations
Notability is more than a digital note-taking app. It’s a personalized workspace that adapts to how you think and learn. Whether you’re sketching ideas, annotating a document, or reviewing for an exam, its mix of creativity tools and advanced learning features gives you control without complexity.
Start simple: create your first note, explore the toolbox, and don’t be afraid to experiment. With each new meeting, class, or idea, you’ll find Notability becomes ever more valuable—a place where your ideas evolve into knowledge.


.png)